
To generate an online experiment from PsychoPy® Builder you can either:
go to >File>Export HTML, or
press ‘sync’ from the globe icons (see builderViewIndexed1, button 2).
Both of these will generate all the necessary files (HTML and JS) that you need for your study, however sync will also create a project on Pavlovia®. NB - By default, the sync button exports an online experiment, but this can be changed via the experiment settings.

Buttons for running an online study from the PsychoPy® Builder.
The first time you sync your experiment, a dialog box will appear. The dialog box informs you that your .psyexp file does not belong to an existing project. Click “Create a project” if you wish to create a project, or click “Cancel” if you wish to return to your experiment in Builder. See createProjDlg.
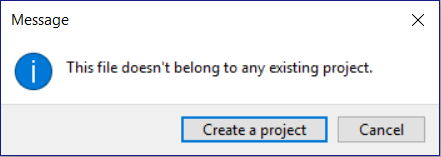
The dialog that appears when an online project does not exist.
If you clicked the “Create a project” button, another window will appear. This window is designed to collect important metadata about your project, see projDlg.
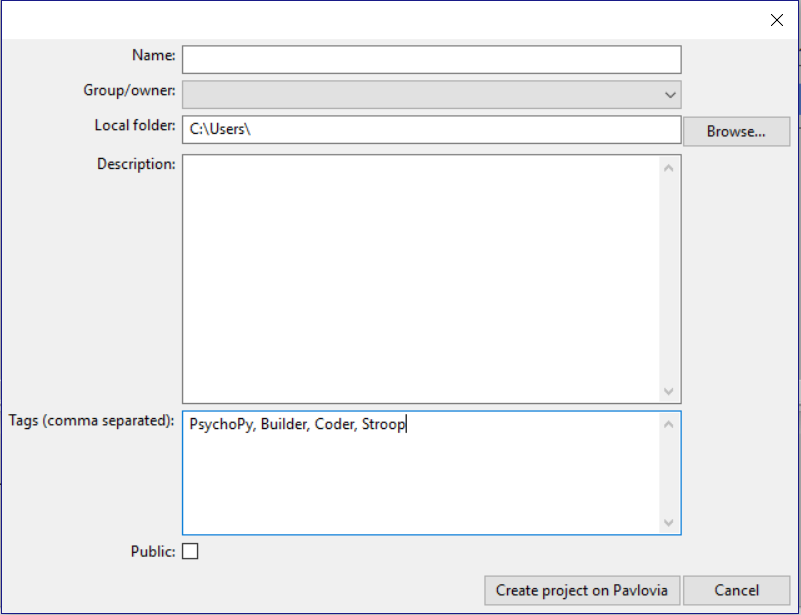
Dialog for creating your project on Pavlovia.org
Use this window to add information to store your project on Pavlovia:
Name. This is the name of your project on Pavlovia
Group/Owner. The user or group that may manage the project
Local folder. The (local) project path on your computer. Use the Browse button to find your local directory, if required. Every file in this directory (and subdirectory) will be uploaded to pavlovia, so be sure you’ve only got files in there that are required by your experiment.
Description. A brief description of your experiment.
Tags (comma separated). These tags will be used to filter and search for experiments by keywords.
Public. Tick this box if you would like to make your project public, which means that anyone can see and clone it.
When you have completed all fields in the Project window, click “Create project on Pavlovia” button to push your experiment to an online repository. Click “Cancel” if you wish to return to your experiment in Builder.
Once your experiment is online you will see your experiment in your Pavlovia Dashboard in the Experiments tab. After clicking your experiment you can set its status to “Pilotting” or “Running”. Read more about the Experiment page here.
If you wish to run your experiment online, in a web-browser, you have two options. You can run your experiment directly from pavlovia.org, as described above, or you can run your experiment directly from Builder. There is also the option to send your experiment URL; more on that in How to recruit participants and connect with online services.
To run your experiment on Pavlovia® via Builder, you must first ensure you have a valid internet connection, are logged in, and have created a repository for your project on Pavlovia®. Once you have completed these steps, simply click button 1 in builderViewIndexed1.
By default. the data are saved in a data folder next to the html file. You should see CSV files there that are similar to PsychoPy® output files. There won’t be any psydat files though. You could just download the data folder, or synchronize your experiment using the PsychoPy® Builder and your data will be fetched to your local computer.
Alternatively, in the experiment dashboard, you can specify storing the data into a database. After specifying so, any data collected in the future can be downloaded as a ZIP file.